Following up on a case
In the treatment line, on the right-hand side of the case overview list, follow up on the case that is selected in the overview. The patient name or — if the patient name is not available — the case ID and a countdown to the due date is shown at the top of the pane.
DTX Studio™ Lab is designed in such a way that it will guide you through the proper workflow by going through the sequential steps on the treatment line. The most recent step is always at the top of the line.
If the case was based on a request or an imported case, see follow up on a request.
Restoration cases
 |
To create a new restoration case, click the add button and select Design restoration. Then follow the instructions in the Add case wizard. |
|
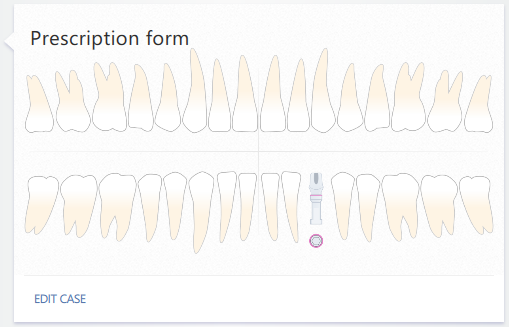
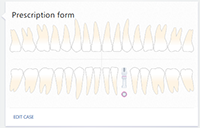
For an existing case, you will see a card with the tooth chart. To edit the case, click Edit case. |
 
|
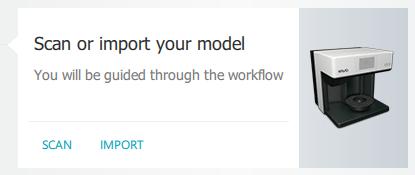
On the Scan your model card, click Start/Scan to enter the scan module. If the scan wizard had already been started, but not yet finished (a case with status 'Resume scanning'), click Continue. |
 
|
If the case has already been scanned, a card with the Model scan results is shown. To remove the scan, click the ellipsis icon  and select Delete. and select Delete. |
 
|
On the Design your case card, click Start to open the design module or the bar module. To create a model, click Create model. To enter the design module or the bar module for a case for which an unfinished design has been saved (a case with status 'Resume designing'), click Continue. |
 
|
If the case has already been designed, a card with the Case design will appear. To verify the design, click View. To modify the design, click Edit. To start over with the design, click the ellipsis icon  and select Delete. If the case has already been ordered, a Reorder action is provided to reorder the design. and select Delete. If the case has already been ordered, a Reorder action is provided to reorder the design. |
 
|
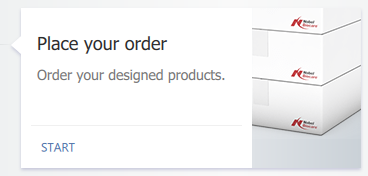
On the Place your order card, click Start to open the order wizard. Notes - If you designed a Nobel Biocare production, Nobel Biocare will manufacture the restoration. - If you designed an In-lab production, on the Order receipt card there will be the option to export the milling files (Produce). |
 
|
If the case has already been ordered, you will see the Order receipt card. To go to the Orders tab, click View. To request a remake of an order article, click on the ellipsis icon  and select Request remake. and select Request remake. |
Model cases
 |
To create a model from a scan, click the add button and select Produce model from scan. Enter the case information and click Finish. |
 
|
The KaVo LS 3 scan module is automatically opened. Verify the scan setup and start scanning or import a scan. |
 
|
If the scans have already been imported, the Import result is shown. To create a model, click Create model. |
 
|
On the Place your order card, click Start to open the order wizard. |
 
|
If the case has already been ordered, you will see the Order receipt card. To go to the Orders tab, click View. |
Scan cases
 |
To create a new scan case, click the add button and select Scan and send model. Enter the case information and click Finish. In the scan setup indicate the items that will be included. |
 
|
The scan module is automatically opened (the NobelProcera 2G scan module if NobelProcera 2G was selected as scanner in the settings; otherwise the KaVo LS 3 scan module). Verify the scan setup and start scanning or import a scan. |
|
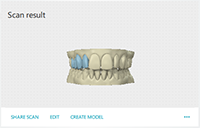
If the case has already been scanned, a card with the Scan result is shown. To be able to start over scanning or importing the scan, click the ellipsis icon  and select Delete. and select Delete.To share the scan with the clinician, click Share scan. To create a model, click Create model. To edit the model, click Edit. To export the case or the scans, click the ellipsis icon  and select Export case or Export scans. and select Export case or Export scans.Note: When exporting a scan, only .stl or .ply files are exported. When exporting a case, the case setup, the scan setup and the actual scan is exported and can be imported by a colleague or partner using DTX Studio™ Lab. |
