Following up on a request
A request is sent to you through the cloud service by a connection.
Note
Cases can also be imported.
Scan requests
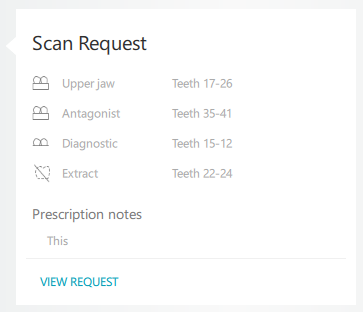
A DTX Studio™ Implant user sends you a request to scan a dental cast, diagnostics and/or an antagonist.
| On the Requests list: | |
 
|
To create a new case based on a request, select the request and click Start request. If a case has already been created for this request, click View in caselist to see the request in the Cases list. |
| On the Cases list: | |
 
|
Click View request to see the request in the Requests list. |
|
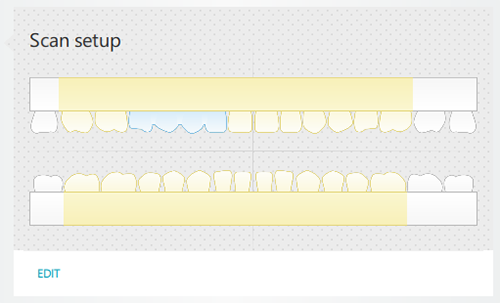
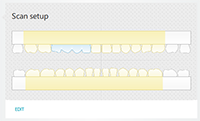
For an existing scan case, a card with the scan setup is displayed. To edit the scan case, click Edit. |
 
|
On the Scan your model card, click Start/Scan to enter the scan module. If the scan wizard had already been started, but not finished (a case with status Resume scanning), click Continue. |
|
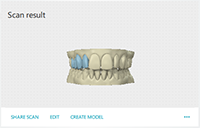
If the case has already been scanned, a card with the Scan result is shown. To be able to start over scanning, click the ellipsis icon  and select Delete. and select Delete.To share the scan with the clinician, click Share scan. To create a model, click Create model. To edit the model, click Edit. To export the case or the scans, click the ellipsis icon  and select Export case or Export scans. and select Export case or Export scans.Note: When exporting a scan, only .stl or .ply files are exported. When exporting a case, the case setup, the scan setup and the actual scan is exported and can be imported by a colleague or partner using DTX Studio™ Lab. |
Restoration requests
A DTX Studio™ Go user sends you an order for the production of a restoration.
| On the Requests list: | |
 
|
To create a new case based on a request, select the request and click Start request. If a case has been created for this request, click View in caselist to see the request in the Cases list. |
| On the Cases list: | |
 
|
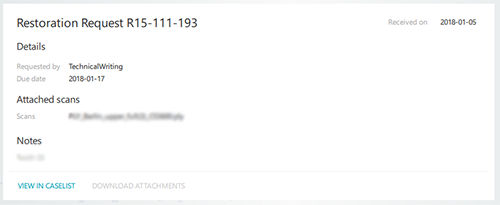
Click View request to see the request in the Requests list. |
 
|
For an existing restoration request case, the prescription form is shown. To edit the case, click Edit case. |
 
|
To start scanning, click Start/Scan on the Scan your model card. If scans have been uploaded together with the case, click Define scans to link the scans to a type of scan object. |
 
|
On the Design your case card, click Design to open the design module or the bar module. To create a model, click Create model. To enter the design module or the bar module for a case for which an unfinished design has been saved (a case with status 'Resume designing'), click Continue. |
 
|
If the case has already been designed, a card with the Case design will appear. To verify the design, click View. To modify the design, click Edit. To start over with the design, click the ellipsis icon  and select Delete. If the case has already been ordered, a Reorder action is provided to reorder the design. and select Delete. If the case has already been ordered, a Reorder action is provided to reorder the design. |
 
|
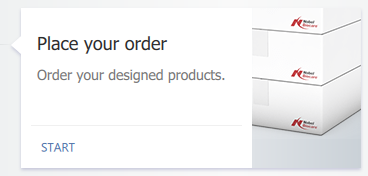
On the Place your order card, click Start to open the order wizard. |
 
|
If the case has already been ordered, you will see the Order receipt card. To go to the Orders tab, click View. To request a remake of an order article of a finished order, click on the ellipsis icon  and select Request remake. and select Request remake. |
Template requests
A DTX Studio™ Implant user sends you an order for producing a template.
Note
In the US and other countries, the physical surgical template for endosseous dental implant placement is a medical device. Please contact the local regulatory agency for more information regarding the regulatory status and requirements related to manufacture of these surgical templates.
| On the Requests list: | |
 
|
To create a new case based on a request, select the request and click Start request. If a case has been created for this request, click View in caselist to see the request in the Cases list. |
| On the Cases list: | |
| Click View request to see the request in the Requests list. | |
 
|
For an existing template request case, the template is shown together with the dental cast / jaw scan. Click Produce to export the .stl file. Click Edit to edit the surgical template in the design module. |
TempShell requests
A DTX Studio™ Implant user sends you an order for a TempShell.
| On the Requests list: | |
 
|
To create a new case based on a request, select the request and click Start request. If a case has been created for this request, click View in caselist to see the request in the Cases list. |
| On the Cases list: | |
 
|
Click View request to see the request in the Requests list. |
 
|
For an existing TempShell case, you will see a card with the Prescription form. To edit the case, click Edit case. |
 
|
To start designing, click Start on the Design your case card. The design module will be opened. To proceed with a case for which the design was started but not completely finished (a case with status Resume designing), click Continue. |
 
|
If the teeth have already been designed, a card with the Case design will appear. To share the LabDesign with the clinician, click Share. To verify the design, click View. To modify the design, click Edit. To start over with the design, click the ellipsis icon  and select Delete. and select Delete. |
 
|
Once the teeth have been designed in the design module, calculate the TempShell by clicking Start on the Finalize your design card. |
 
|
The high-resolution TempShell is being calculated. This can take a while. Click Preview to preview the low-resolution file. Click the ellipsis icon  and select Recalculate to restart the Finalize TempShell wizard, adjust the settings, and fine-tune the TempShell. and select Recalculate to restart the Finalize TempShell wizard, adjust the settings, and fine-tune the TempShell. |
 
|
The TempShell has been calculated. Click Export to export the high-resolution TempShell production file. To share the TempShell with the clinician, click Share. Click View to see a preview of the low resolution TempShell production file. Click the ellipsis icon  and select Recalculate to restart the Finalize TempShell wizard, adjust the settings, and fine-tune the TempShell. and select Recalculate to restart the Finalize TempShell wizard, adjust the settings, and fine-tune the TempShell.To redesign the tooth setup after having consulted the clinician, click the ellipsis icon  and select Delete. and select Delete. |

