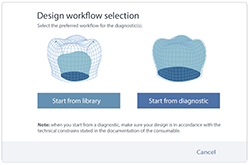
Starting from the diagnostic
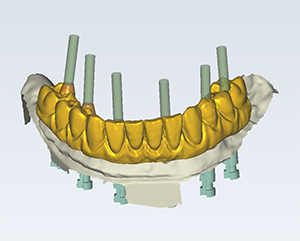
The construction is created directly from the diagnostic wax-up scan data. No tooth models are loaded. For multi-unit restorations, there will be no specific workflow step during design to create connectors. Instead a bridge will be automatically generated from the diagnostic setup, taking into consideration contact areas you have generated.
Make sure a diagnostic scan has been performed.
In the treatment line, click Start on the Design your case card.
Note
For legacy cases (cases created in DTX Studio™ Lab version 1.9 or earlier), a dialog will pop up where you can choose Start from diagnostic.

The design module is opened in wizard mode. Define the emergence profile.
The Wax-up scan is shown in the Show/Hide group. Generate the abutment bottoms.
The wax-up is calculated: any holes are closed, the shape is adapted to the preparation margin, the connections with the implants are created, and if you choose to do so in the wizard, the shape is adapted to the soft tissue. Note that no tooth models are required.
Note
For a partial restoration, it is important that the diagnostic scan was properly cut to ensure an optimal shape calculation of the wax-up.
Free-form on the wax-up, by adding/removing material, or smoothing.
Shrink the shape.
Free-form again.
Merge and save the restoration.
