Starting from the library
The diagnostic scan is loaded into the design module as a pre-op scan to help you create your design for screw-retained abutments, crowns, or screw-retained implant bridges.
Make sure a diagnostic scan has been performed.
In the treatment line, click Start on the Design your case card.
Note
For legacy cases (cases created in DTX Studio™ Lab version 1.9 or earlier), a dialog will pop up where you can choose Start from library.
The design module is opened in wizard mode.
Correcting pre-op scan placement
On the first page of the wizard, correct the placement of the pre-op scan relative to the regular model scan.
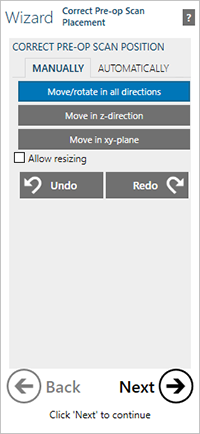
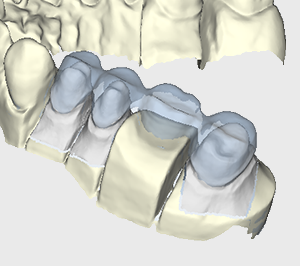
Adjust the placement so that the model teeth are close to the pre-op model. This will lead to better results later on, when you adapt the model teeth to the pre-op scan.
Use the free-forming options to move the model teeth closer to the pre-op model scan.
The actual construction is performed the classical way, by loading tooth models, adapting/free-forming them, and designing connectors for multi-unit cases.
Tooth models and custom abutments can be adapted to the pre-op scan.
Adapting to pre-op scan
A later page in the wizard, just before the shrinking step, will give you the option to adapt tooth models to the pre-op model scan.
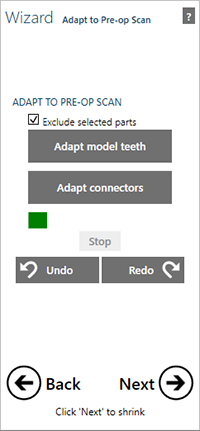
Click Adapt model teeth to start the adaptation. The model teeth will be adapted to the scan, little by little. The progress is shown on screen. Once you think the adaptation is okay, click Stop.
Tip
The more closely you manually adapted the teeth to the pre-op model beforehand, the better the result will be.
Connectors are not copied from the pre-op model scan; they are designed the classical way.
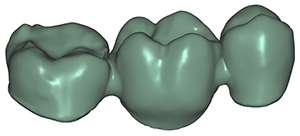
The image above shows the finished reconstruction made using the standard diagnostic workflow.
